-
[iOS] UMC iOS 세미나 4주 차iOS/UMC 2022. 10. 27. 23:10
✅ 오늘의 학습 목표
ScrollView를 이해한다.
ScrollView의 개념을 기반으로 TableView를 이해하고 활용할 수 있다.
CollectionView를 이해하고 활용할 수 있다.
protocol과 delegate에 대해 이해하여 화면(ViewController)간의 데이터를 전달할 수 있다.
📌 TableView
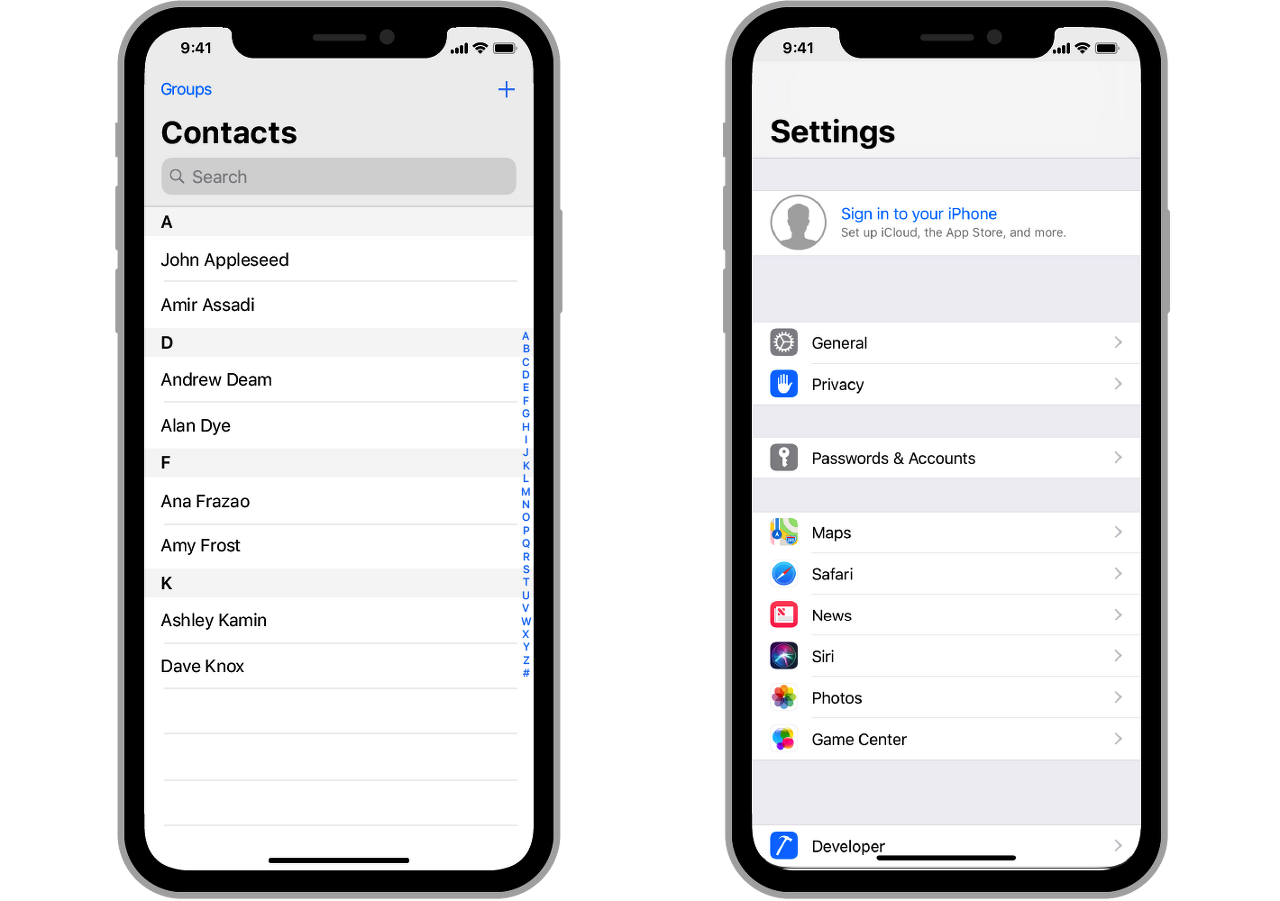
동일한 레이아웃이 반복되는 UI를 만들 때 일일이 하드코딩? ❌ -> 시간, 메모리상의 문제 발생
TableView를 활용하자!- 목록 형태의 뷰를 구현하는데 용이
- 재사용 큐를 활용한 메모리 관리
- ScrollView를 상속받아 스크롤 가능
📌 CollectionView
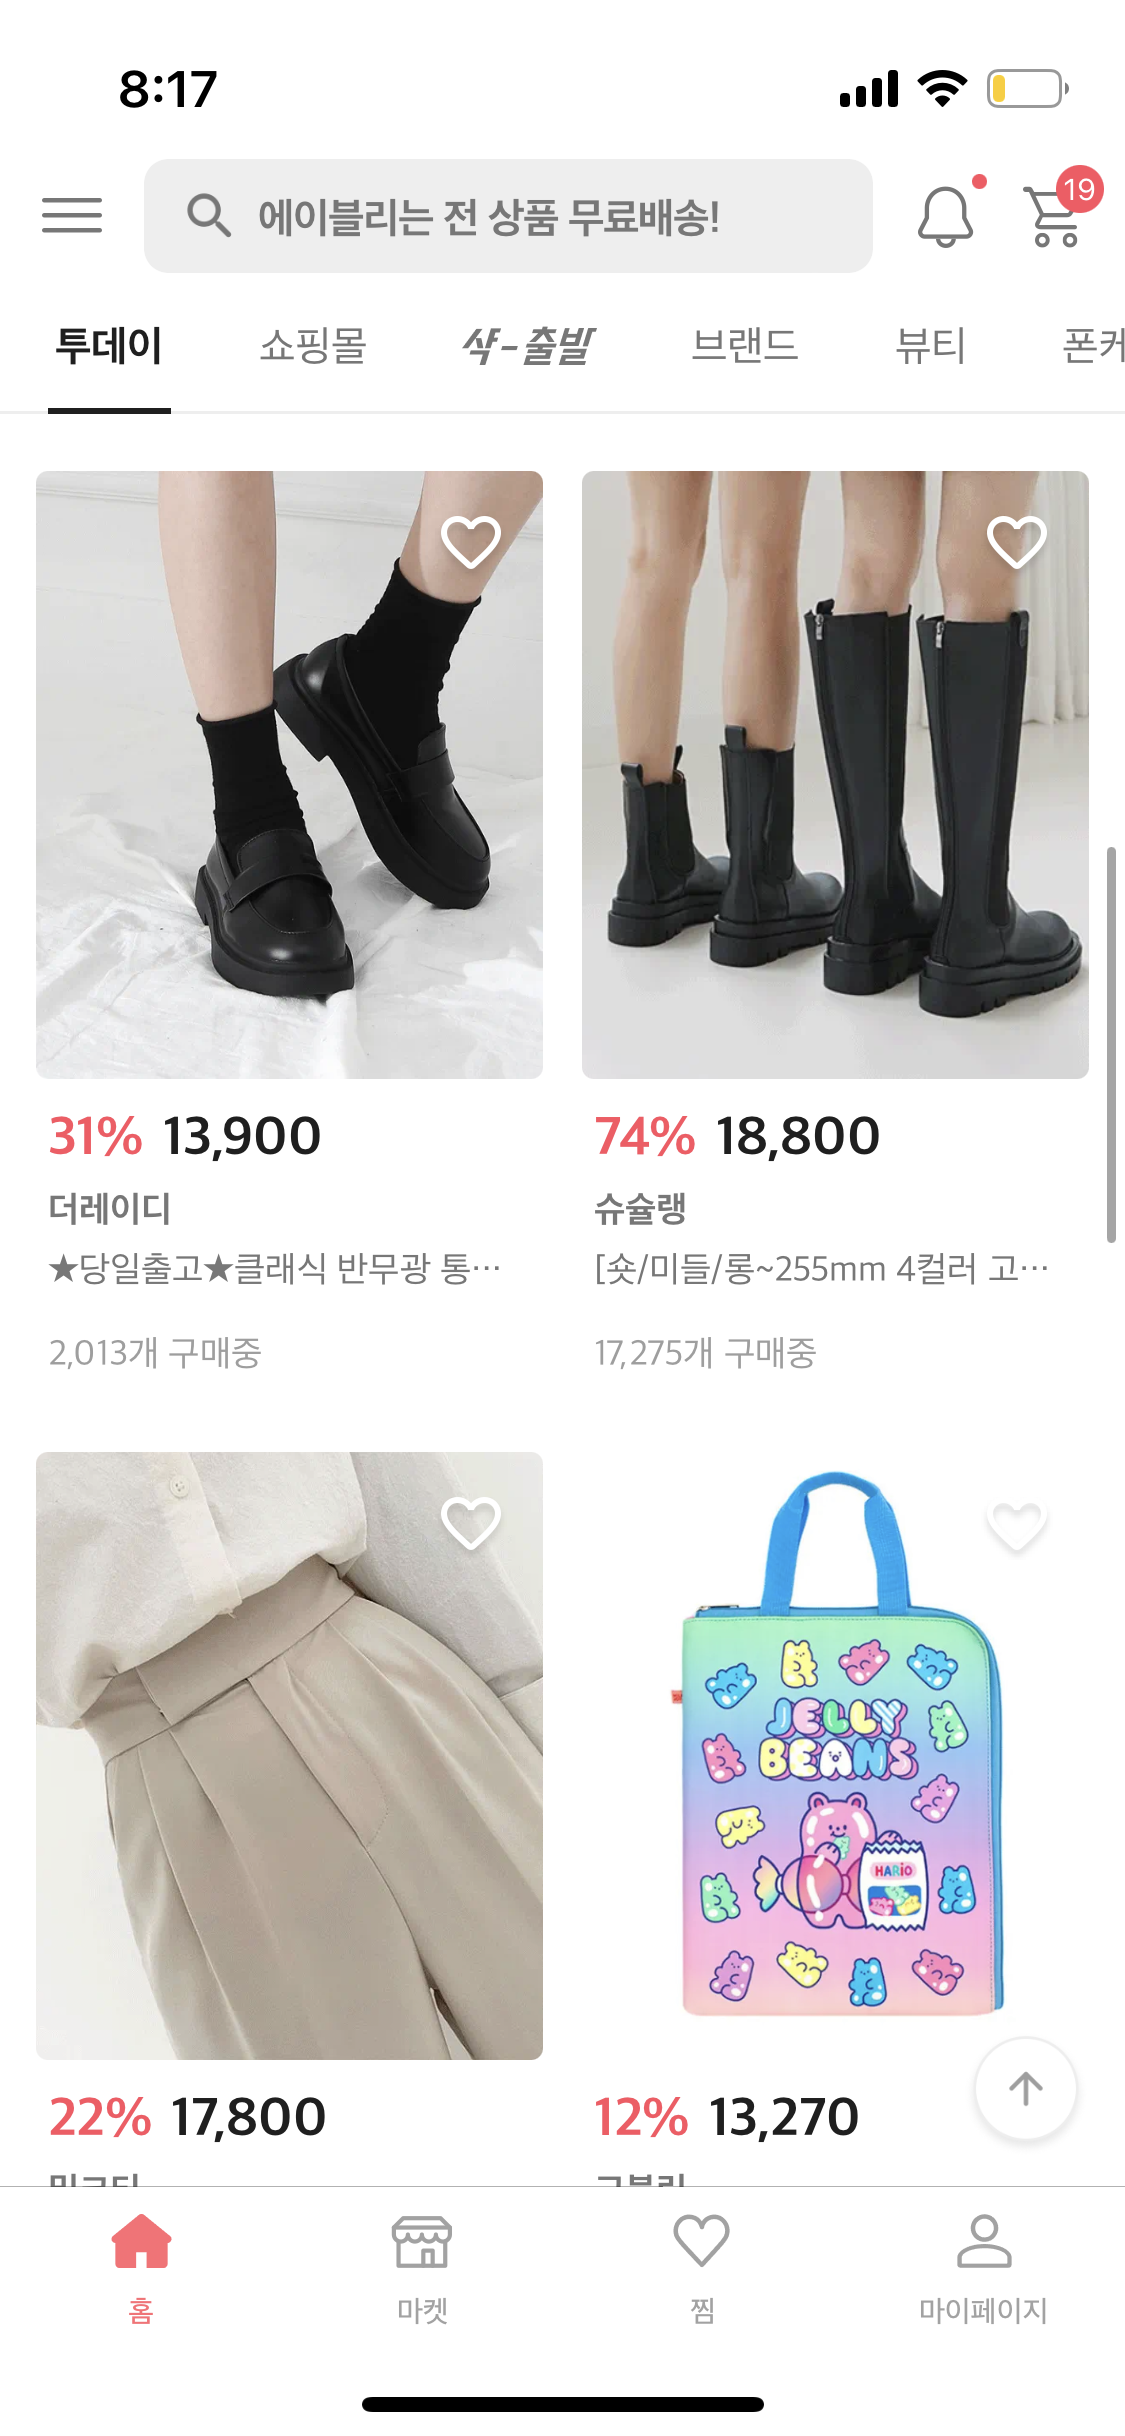
TableView와 마찬가지로 Cell이 반복되는 형태의 구조를 가지고 있다.
📌 TableView vs. CollectionView
TableView CollectionView 단순한 목록 구현 더 복잡하고 다양한 형태로 커스터미이징 가능 일자 목록 형태 격자 또는 페이지 형태 Cell의 Swipe 옵션 지원
(ex. 카톡 채팅방 슬라이드 -> 알림 끄기)Cell의 Paging 옵션 지원
(ex. 스와이프가 가능한 광고 배너)
📌 Protocol
프로토콜은 하나의 청사진이다!
실제로 구현은 하지 않고 가이드 라인만 제공한다.
protocol 치킨 메뉴얼 {
   func 반죽을 한다()
   func 재료를 섞는다()
   func 튀긴다()
   func 장식을 한다()


class 사장님A: 치킨 메뉴얼 {
   func 반죽을 한다() {걸쭉한 반죽...}
   func 재료를 섞는다() {소금 간을 하고...}
   func 튀긴다()
   func 장식을 한다()
}


class 사장님B: 치킨 메뉴얼 {
   func 반죽을 한다() {탄탄한 반죽...}
   func 재료를 섞는다() {설탕 간을 하고...}
   func 튀긴다()
   func 장식을 한다()
}
👆치킨 메뉴얼 프로토콜
- 치킨을 만들 때 고려해야 하는 최소 요구사항 -> 프로토콜
- 최소 요구사항을 따라 구현 -> 프로토콜 채택
🌳 Protocol 화면 전환 실습
첫 번째 화면에서 두 번째 화면으로 넘어가면 텍스트 입력창이 나타난다.
두 번째 화면에서 텍스트를 입력한 뒤 뒤로 가면 Label이 텍스트 값으로 바뀐다.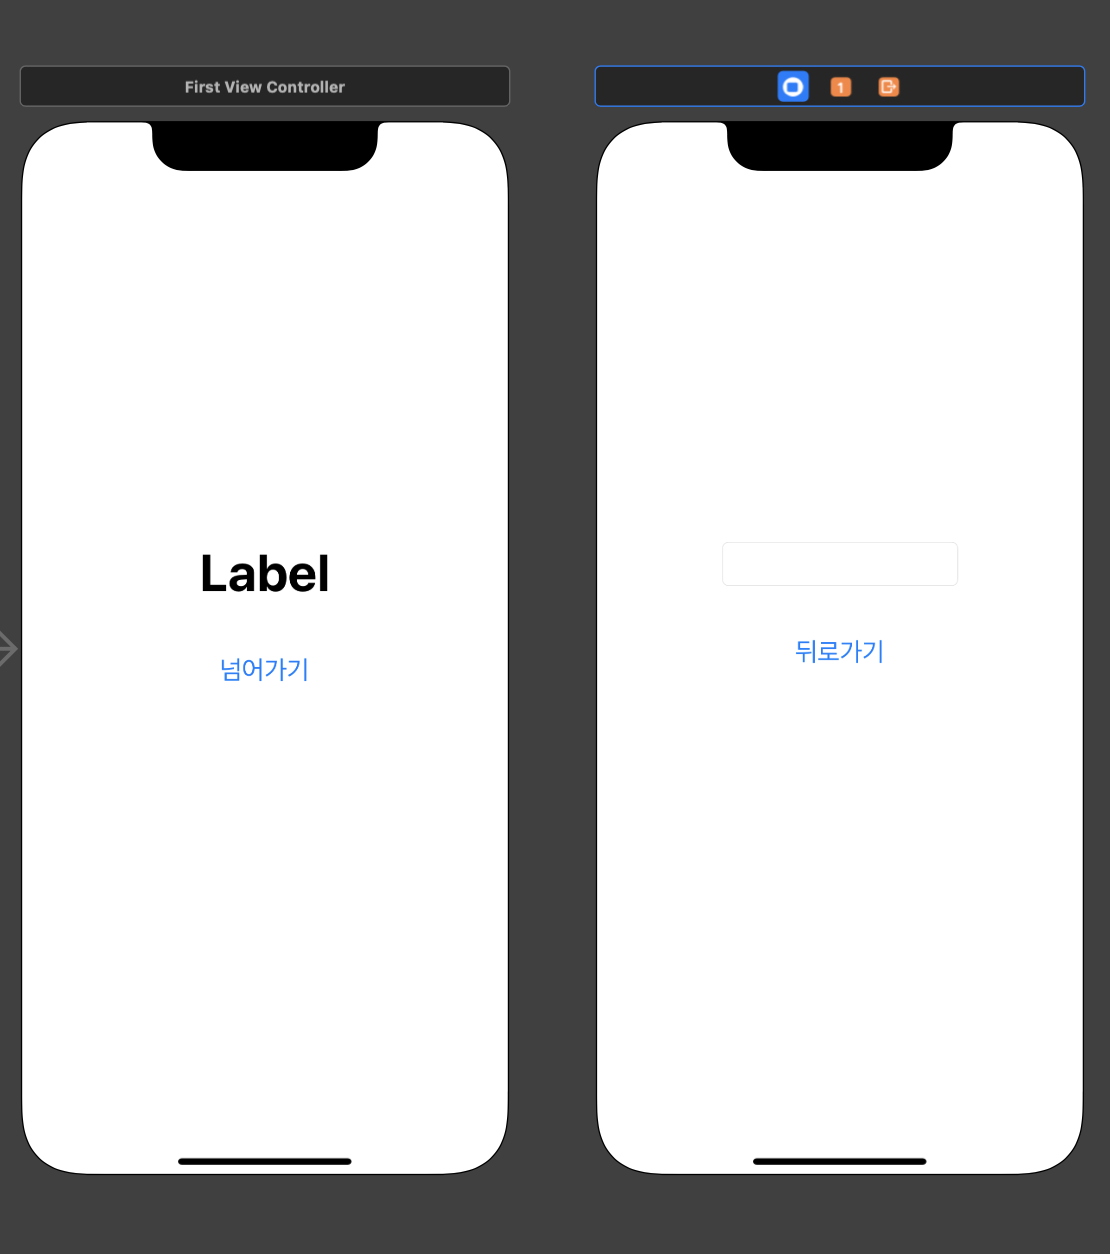
1. Storyboard에서 화면을 만들어준다.
protocol labelChangeProtocol {
    func onChange(text: String)
}

// labelChangeProtocol 프로토콜 채택
class firstViewController: UIViewController, labelChangeProtocol {

    // 프로토콜 최소 요구사항 구현
    // 프로토콜 채택은 부모 view가, 함수 사용은 자식뷰인 secondViewController에서!
    func onChange(text: String) {
        label.text = text   // 구현부 작성
    }
2. 부모 View에서 프로토콜을 선언하고, 채택해준다.
이 때 프로토콜 선언할 때는 구현부를 작성하지 않는다. 구현부는 채택한 곳에서 작성해준다!
  // 📌 화면전환 시 필요한 instantiateViewController
    /*
    storyboard ID(identifier)와 storyboard name을 가지고 storyboard 객체를 통해서 instantiateViewController를 사용하여 UI 요소까지 호출한다.
     */

    @IBAction func buttonDidTap(_ sender: Any) {
        guard let secondViewController = UIStoryboard(name: "Main", bundle: nil).instantiateViewController(withIdentifier: "secondViewController") as? secondViewController else {return}


        secondViewController.modalPresentationStyle = .fullScreen
        secondViewController.delegate = self    // 화면이 전환되기 전에 미리 변수에 접근해서 초기화시킴


        present(secondViewController, animated: true)
    }
3. 버튼을 누르면 화면이 present로 넘어감
secondViewController.delegate = self -> 부모 View에서 delegate를 자기 자신으로 초기화해준다.
var delegate: labelChangeProtocol?4. 자식 View의 delegate 변수는 (3) 코드로 인해 이미 초기화가 된 상태이다.
  @IBAction func backButtonDidTap(_ sender: Any) {

        // 텍스트를 가져옴
        guard let text = textField.text else {return}

        // 프로토콜에 접근해서 매개변수가 텍스트인 onChange 실행
        delegate?.onChange(text: text)
        dismiss(animated: true)
    }
5. 버튼을 눌렀을 때 구현부를 작성한다.
delegate에 접근해서 매개변수를 textfield의 텍스트로 설정해준다.
최종 실행 화면
🌳 TableView을 활용한 채팅창 실습
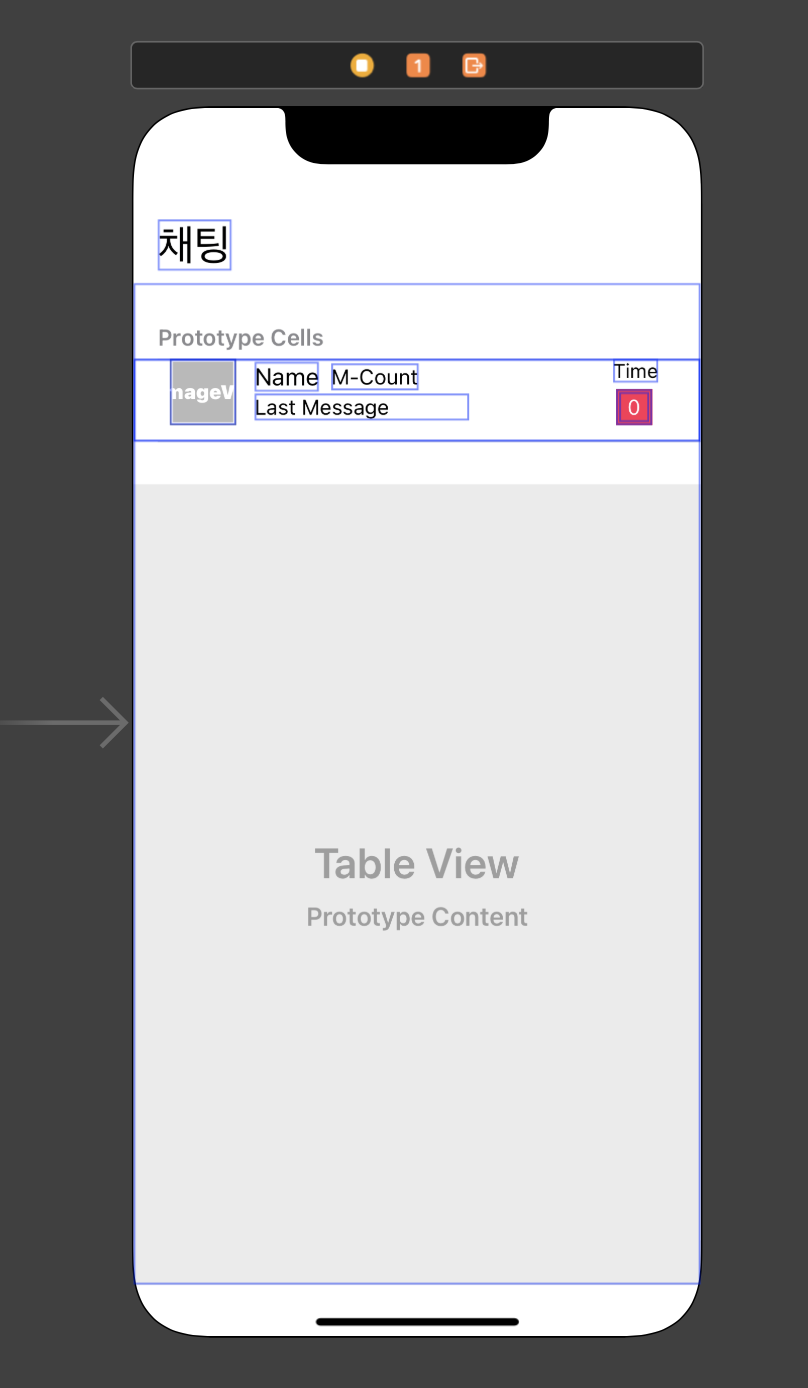
1. TableView - TableViewCell 안에 레이아웃을 잡는다.
2. UITableViewDelegate, UITableViewDataSource를 채택하여 각각 필요한 함수들을 구현해준다.
- numberOfRowsInSection, cellForRowAt
class tableViewController: UIViewController, UITableViewDelegate, UITableViewDataSource {

    // UITableViewDataSource 프로토콜 채택 시 필수 구현!
    // numberOfRowsInSection: 셀의 개수 지정
    func tableView(_ tableView: UITableView, numberOfRowsInSection section: Int) -> Int {
        return chattingRoomData.count
    }

    // UITableViewDataSource 프로토콜 채택 시 필수 구현!
    // cellForRowAt: 테이블 View에 넣을 Cell data
    func tableView(_ tableView: UITableView, cellForRowAt indexPath: IndexPath) -> UITableViewCell {

        // Cell에 접근해서 데이터 변경
        guard let cell = tableView.dequeueReusableCell(withIdentifier: "kakaoTalkTableViewCell", for: indexPath) as? kakaoTalkTableViewCell else {return UITableViewCell()}

        cell.nameLabel.text = chattingRoomData[indexPath.row].name

        cell.profileImageView.image = chattingRoomData[indexPath.row].profileImage

        cell.lastMessageLabel.text = chattingRoomData[indexPath.row].lastMessage

        if let memberCount = chattingRoomData[indexPath.row].memberCount {
            cell.memberCountLabel.text = memberCount
        } else {
            cell.memberCountLabel.isHidden = true
        }

        cell.timeLabel.text = chattingRoomData[indexPath.row].time
        cell.messageCountLabel.text = chattingRoomData[indexPath.row].messageCount

        // cell 재사용큐 활용 시 문제점 발생
        if indexPath.row == 1 {
            cell.backgroundColor = .red
        }   // 스크롤 하다보면 빨간색이 점점 늘어남(컬러도 재활용되기 때문)

        return cell;
    }
3. 필요한 데이터를 데이터 모델을 구조체로 정의하여 생성한다.
// Cell에 들어가는 데이터 모델을 구조체로 정의
struct ChattingRoomDataModel {
    let profileImage: UIImage?
    let name: String
    let lastMessage: String
    let memberCount: String?
    let time: String
    let messageCount: String
}
4.
delegate를 통해 UITableViewDelegate, UITableViewDataSource에 정의된 여러 메소드들을 현재 viewController(self)에서 사용한다는 의미의 코드를 꼭 작성해주어야 한다.
    override func viewDidLoad() {
        super.viewDidLoad()

        // 필수!
        kakaoTalkTableView.delegate = self
        kakaoTalkTableView.dataSource = self
    }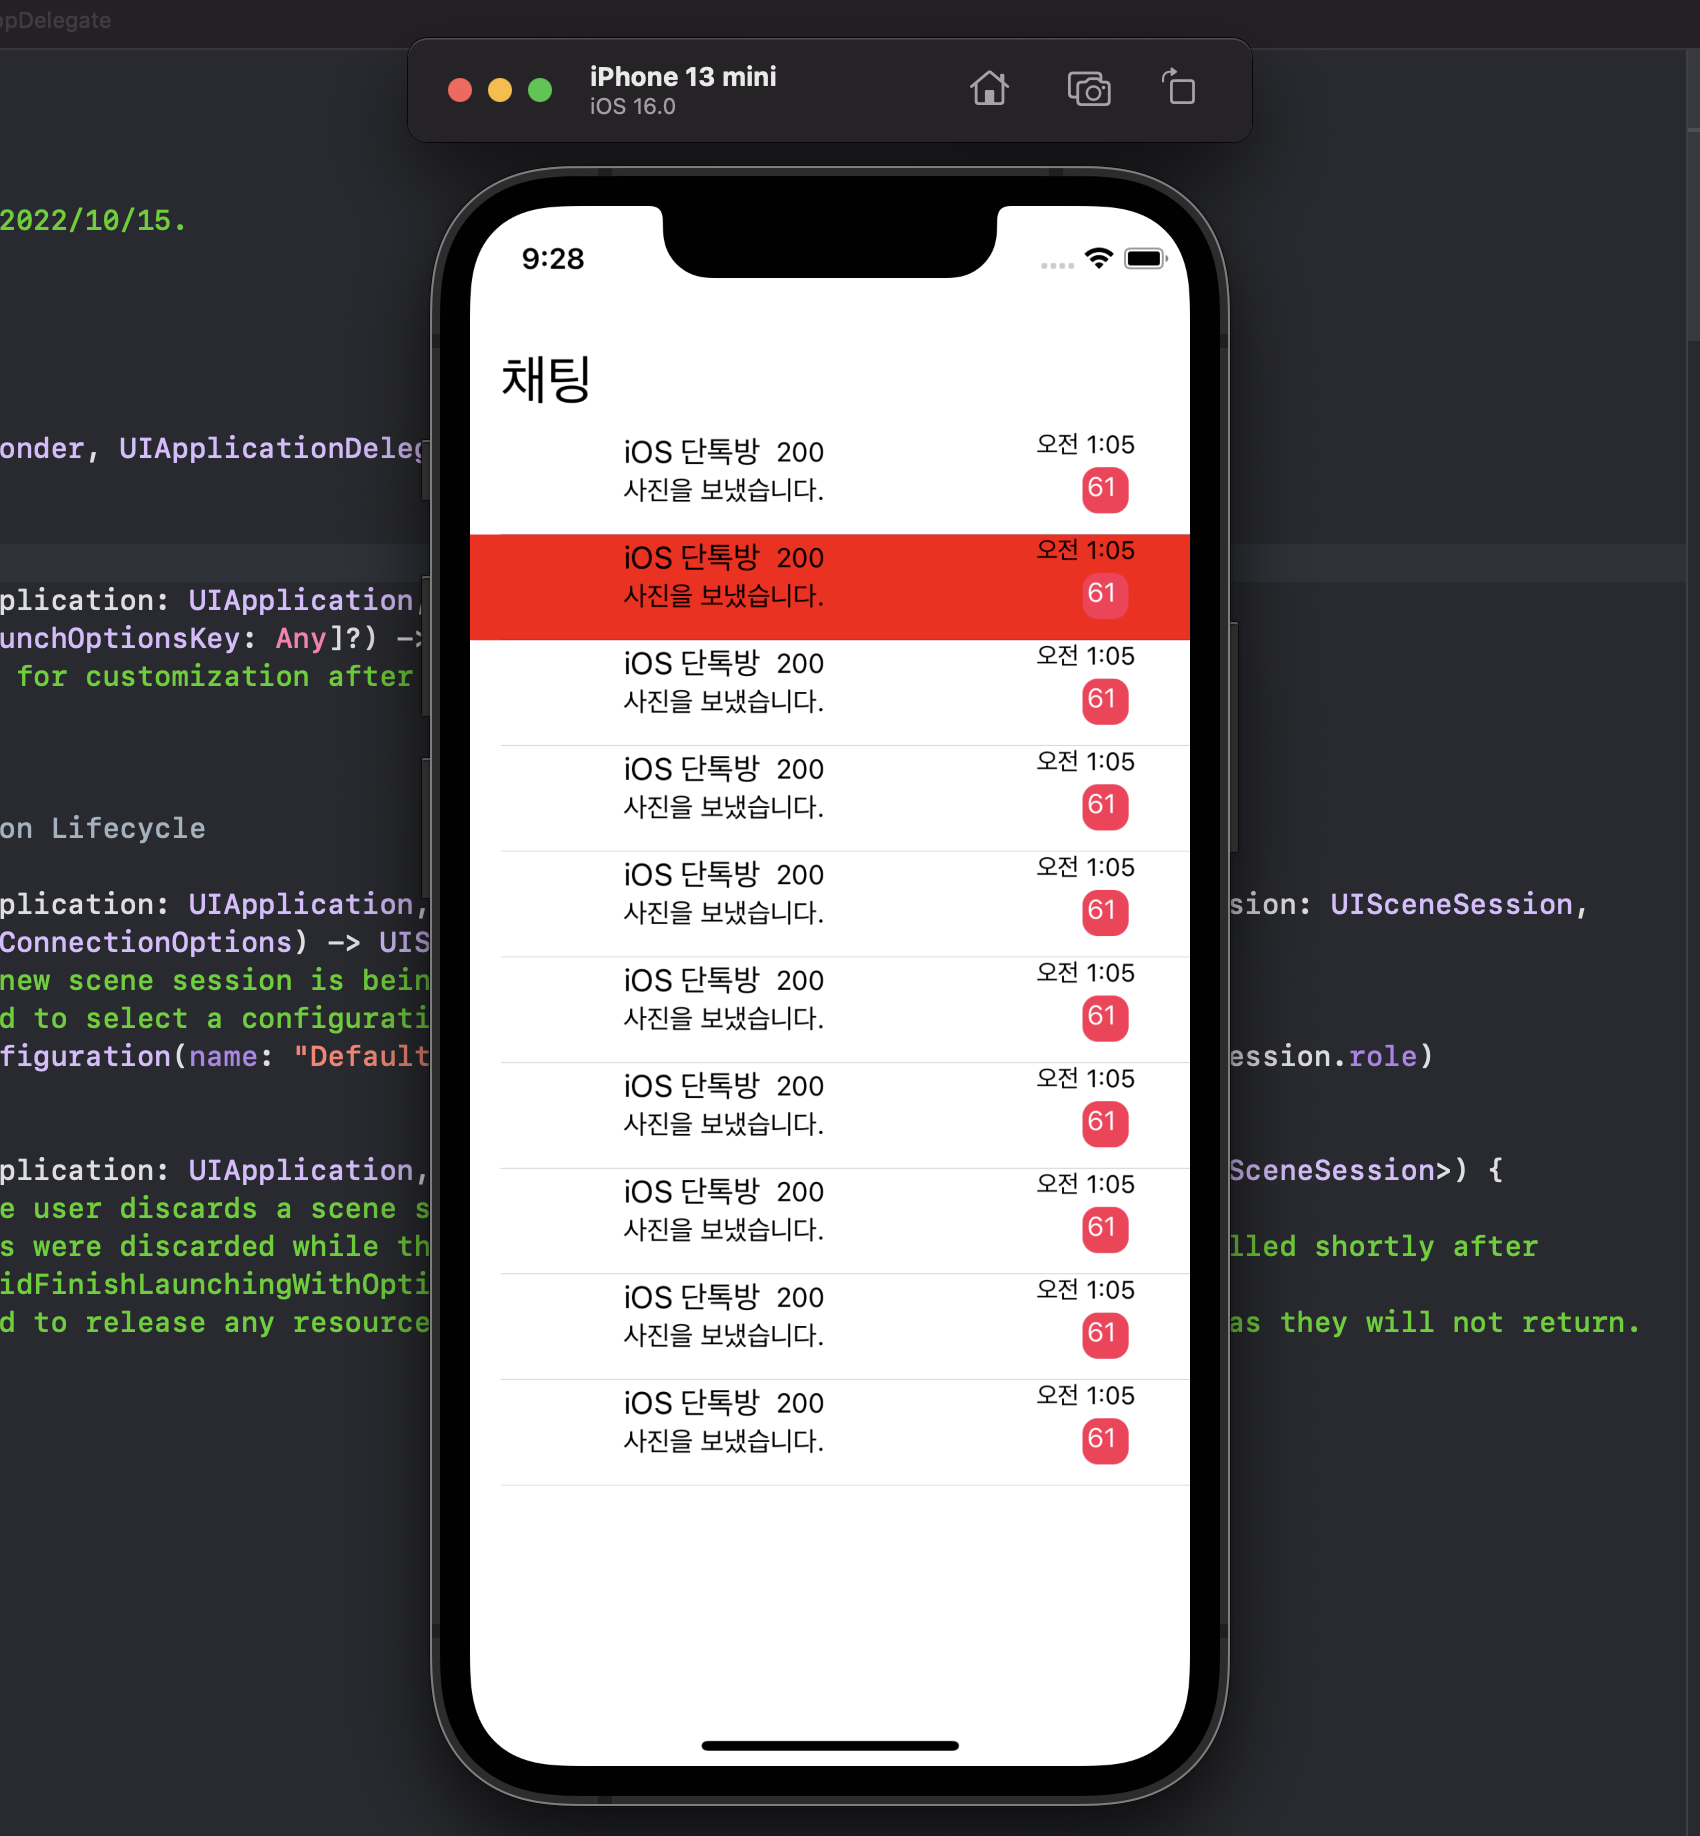
완성 화면 'iOS > UMC' 카테고리의 다른 글
[iOS] 4-5주 차 미션 (0) 2022.10.31 [iOS] UMC iOS 세미나 5주 차 (0) 2022.10.31 [iOS] 3주 차 미션 - 화면 전환을 이용한 미니 계산기 만들기 (0) 2022.10.08 [iOS] UMC iOS 세미나 3주 차 (1) 2022.10.05 [iOS] 2주 차 미션 - Auto layout을 활용해서 클론 코딩을 해보자! (0) 2022.10.01