-
[iOS] UMC iOS 세미나 5주 차iOS/UMC 2022. 10. 31. 23:12
✅ Open Source와 Library
Open Source를 이해하고 필요한 경우 찾아 쓸 수 있다.
CocoaPods을 통해 외부 라이브러리를 설치하여 적용할 수 있다.
💡 4주차에서 만들었던 카카오톡 채팅창에 아래로 슬라이드하면 나오는 로딩바 구현해보기!
   @IBOutlet weak var kakaoTalkTableView: UITableView!

    // UIRefreshControl(): A standard control that can initiate the refreshing of a scroll view’s contents.
    let refreshControl = UIRefreshControl()

    override func viewDidLoad() {
        super.viewDidLoad()

        // 필수!
        kakaoTalkTableView.delegate = self
        kakaoTalkTableView.dataSource = self

        initRefreshControl()
    }

    /* 📌 UIRefreshControl()을 공식문서를 참고해서 작성해보기
     func configureRefreshControl () {
        // Add the refresh control to your UIScrollView object.
        myScrollingView.refreshControl = UIRefreshControl()
        myScrollingView.refreshControl?.addTarget(self, action:
                                           #selector(handleRefreshControl),
                                           for: .valueChanged)
     }

     @objc func handleRefreshControl() {
        // Update your content…

        // Dismiss the refresh control.
        DispatchQueue.main.async {
           self.myScrollingView.refreshControl?.endRefreshing()
        }
     }
     */


    // 아래로 슬라이드 시 나타나는 로딩바 구현
    func initRefreshControl() {
        kakaoTalkTableView.refreshControl = refreshControl
        refreshControl.addTarget(self, action: #selector(handleRefreshControl), for: .valueChanged)
    }   // 값이 변경될 때(Table의 Y position, 사용자의 액션 등) 새로고침 종료

    // addTarget: UIButton, UISwitch 등 addTarget으로 액션을 구현할 수 있다(@IBAction과 같은 기능)

    /*
     📌 IBAction으로 구현했던 것을 코드로 작성하기 위해서는 @objc가 필요하다!
        @objc는 objective-c 코드를 swift 파일내에서 사용해야 할 때 사용하는 코드이다
     */

    @objc func handleRefreshControl() {
        print("새로고침 됨!")

        // Thread 관리
        // 새로고침 종료
        DispatchQueue.main.asyncAfter(deadline: .now() + 2.0) {
            self.refreshControl.endRefreshing()
        }
    }
💡 Lottie 라이브러리를 이용해서 로딩바 커스텀해보기
1️⃣ cocoapod 설치
sudo gem install -n /usr/local/bin cocoapods설치하려고 하자마자 에러를 만났다...
error: error installing cocoapods: error: failed to build gem native extension.
Mac CommandLineTools를 삭제하고 재설치하면 해결된다!
sudo rm -rf /Library/Developer/CommandLineTools‘
sudo xcode-select --install
에어비엔비 github 참고
GitHub - airbnb/lottie-ios: An iOS library to natively render After Effects vector animations
An iOS library to natively render After Effects vector animations - GitHub - airbnb/lottie-ios: An iOS library to natively render After Effects vector animations
github.com
pod init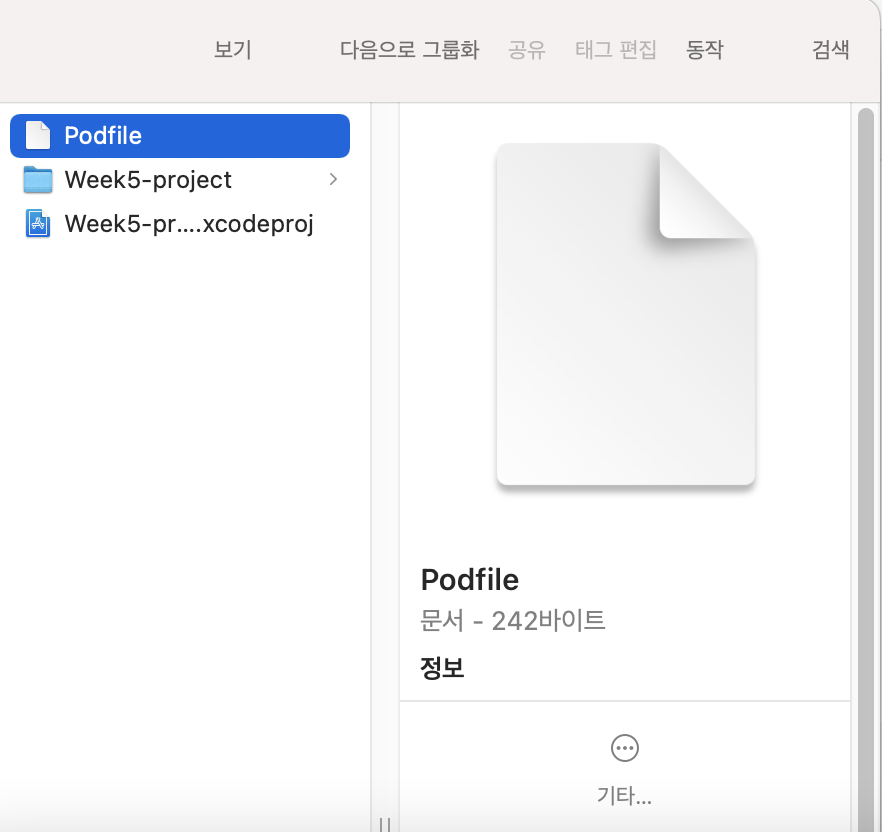
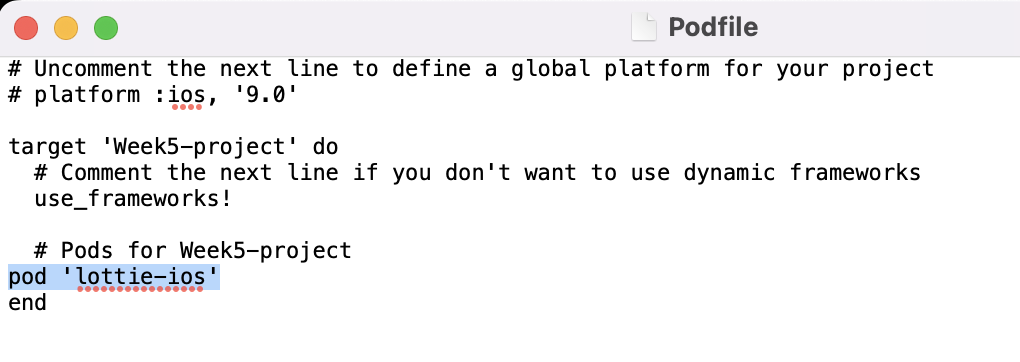
pod install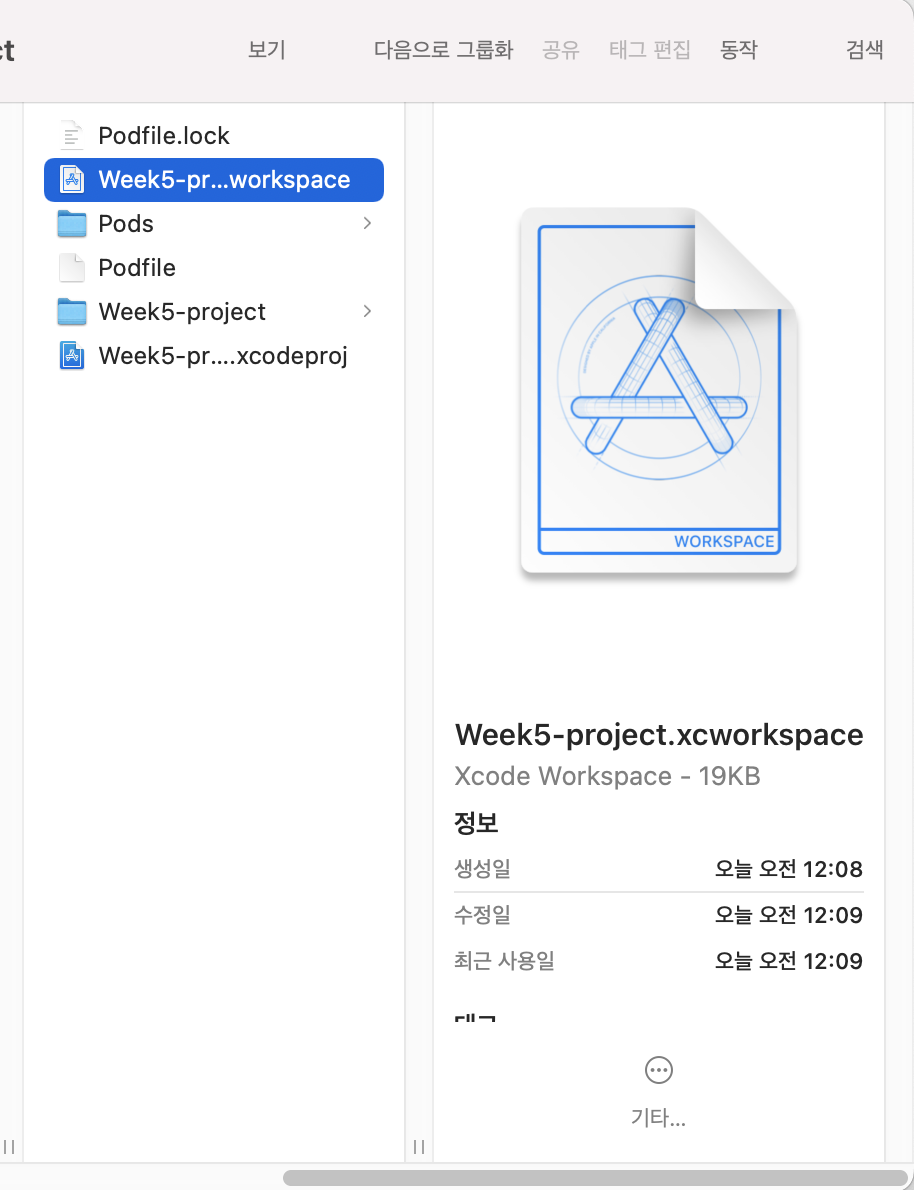
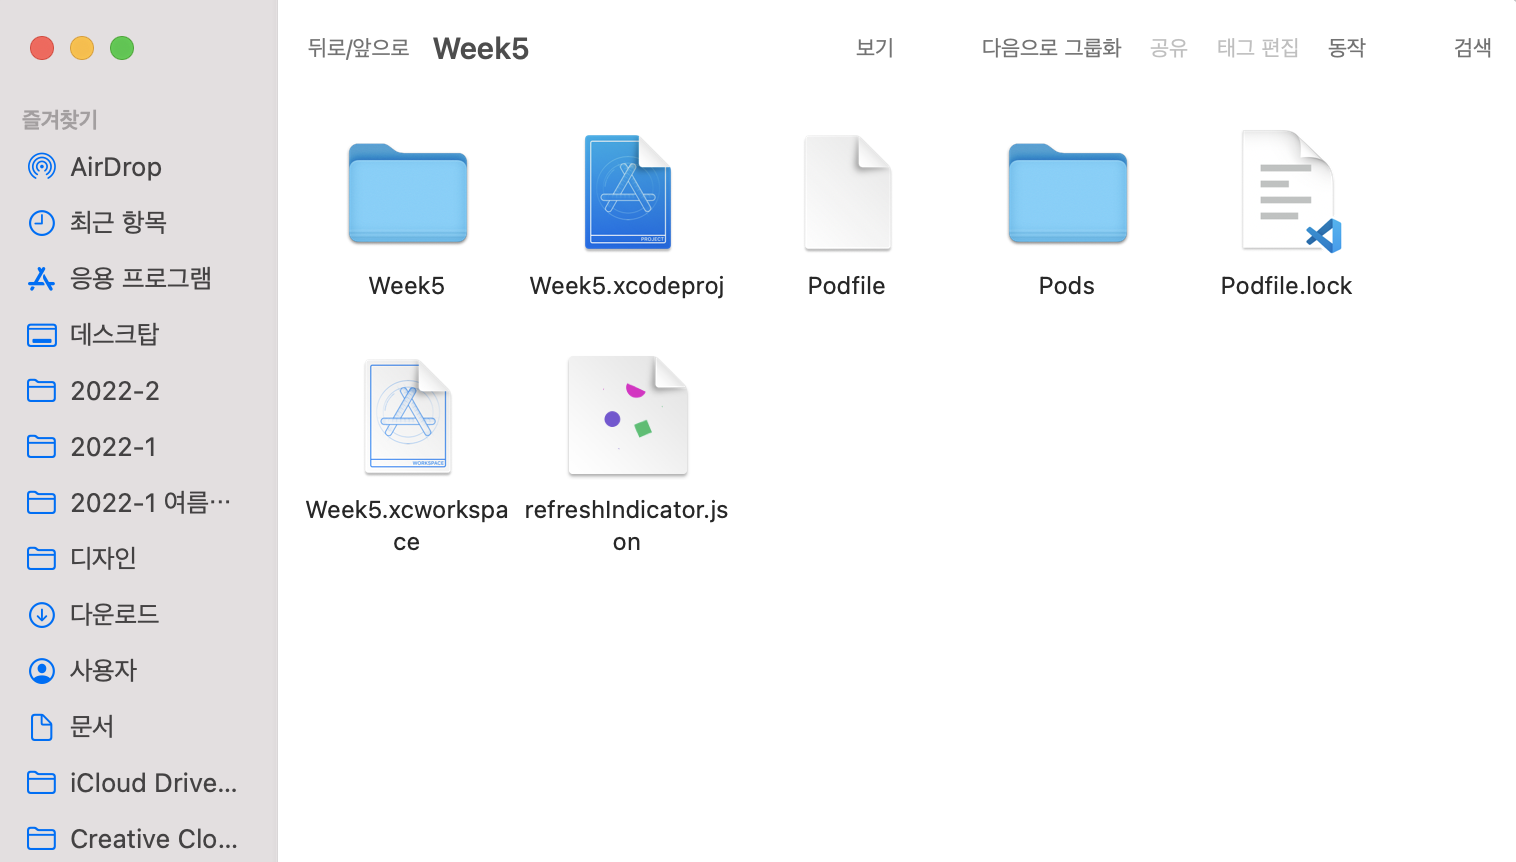
2️⃣ 프로젝트 열어서 코드 작성
- 기존 프로젝트 파일이 아닌 .xcworkspace 파일을 열어야 한다!
- import Lottie
//
//  tableViewController.swift
//  Week4
//
//  Created by yeonsu on 2022/10/27.
//

import UIKit
import Lottie

class tableViewController: UIViewController, UITableViewDelegate, UITableViewDataSource {

    // UITableViewDataSource 프로토콜 채택 시 필수 구현!
    // numberOfRowsInSection: 셀의 개수 지정
    func tableView(_ tableView: UITableView, numberOfRowsInSection section: Int) -> Int {
        return chattingRoomData.count
    }

    // UITableViewDataSource 프로토콜 채택 시 필수 구현!
    // cellForRowAt: 테이블 View에 넣을 Cell data
    func tableView(_ tableView: UITableView, cellForRowAt indexPath: IndexPath) -> UITableViewCell {

        // Cell에 접근해서 데이터 변경
        guard let cell = tableView.dequeueReusableCell(withIdentifier: "kakaoTalkTableViewCell", for: indexPath) as? kakaoTalkTableViewCell else {return UITableViewCell()}

        cell.nameLabel.text = chattingRoomData[indexPath.row].name

        cell.profileImageView.image = chattingRoomData[indexPath.row].profileImage

        cell.lastMessageLabel.text = chattingRoomData[indexPath.row].lastMessage

        if let memberCount = chattingRoomData[indexPath.row].memberCount {
            cell.memberCountLabel.text = memberCount
        } else {
            cell.memberCountLabel.isHidden = true
        }

        cell.timeLabel.text = chattingRoomData[indexPath.row].time
        cell.messageCountLabel.text = chattingRoomData[indexPath.row].messageCount

        // cell 재사용큐 활용 시 문제점 발생
        if indexPath.row == 1 {
            cell.backgroundColor = .red
        }   // 스크롤 하다보면 빨간색이 점점 늘어남(컬러도 재활용되기 때문)

        return cell;
    }


    @IBOutlet weak var kakaoTalkTableView: UITableView!

    // UIRefreshControl(): A standard control that can initiate the refreshing of a scroll view’s contents.
    let refreshControl = UIRefreshControl()

    lazy var lottieView: AnimationView = {
        let animationView = AnimationView(name: "refreshIndicator")
        animationView.frame = CGRect(x: 0, y: 0, width: 80, height: 120)
        let centerX = UIScreen.main.bounds.width / 2
        animationView.center = CGPoint(x: centerX, y: 40)
        animationView.contentMode = .scaleAspectFit
        animationView.stop()
        animationView.isHidden = true
        return animationView
    }()


    override func viewDidLoad() {
        super.viewDidLoad()

        // 필수!
        kakaoTalkTableView.delegate = self
        kakaoTalkTableView.dataSource = self

        initRefreshControl()
    }

    /* 📌 UIRefreshControl()을 공식문서를 참고해서 작성해보기
     func configureRefreshControl () {
        // Add the refresh control to your UIScrollView object.
        myScrollingView.refreshControl = UIRefreshControl()
        myScrollingView.refreshControl?.addTarget(self, action:
                                           #selector(handleRefreshControl),
                                           for: .valueChanged)
     }

     @objc func handleRefreshControl() {
        // Update your content…

        // Dismiss the refresh control.
        DispatchQueue.main.async {
           self.myScrollingView.refreshControl?.endRefreshing()
        }
     }
     */


    // 아래로 슬라이드 시 나타나는 로딩바 구현
    func initRefreshControl() {
        refreshControl.addSubview(lottieView)
        refreshControl.tintColor = .clear
        refreshControl.addTarget(
        self,
        action: #selector(refreshTableView(refreshControl:)),
        for: .valueChanged
        )

        kakaoTalkTableView.refreshControl = refreshControl

    }   // 값이 변경될 때(Table의 Y position, 사용자의 액션 등) 새로고침 종료

    // addTarget: UIButton, UISwitch 등 addTarget으로 액션을 구현할 수 있다(@IBAction과 같은 기능)

    /*
     📌 IBAction으로 구현했던 것을 코드로 작성하기 위해서는 @objc가 필요하다!
        @objc는 objective-c 코드를 swift 파일내에서 사용해야 할 때 사용하는 코드이다
     */

    @objc func refreshTableView(refreshControl: UIRefreshControl) {
        print("새로고침 됨!")
        lottieView.isHidden = false
        lottieView.play()

        // Thread 관리
        // 새로고침 종료
        DispatchQueue.main.asyncAfter(deadline: .now() + 2.0) {
            self.lottieView.isHidden = true
            self.lottieView.stop()
            self.kakaoTalkTableView.reloadData()
            self.refreshControl.endRefreshing()
        }
    }


    let chattingRoomData: [ChattingRoomDataModel] = [ChattingRoomDataModel(profileImage: UIImage(named: "swiftIcon"), name: "iOS 단톡방", lastMessage: "사진을 보냈습니다.", memberCount: "200", time: "오전 1:05", messageCount: "61"), ChattingRoomDataModel(profileImage: UIImage(named: "swiftIcon"), name: "iOS 단톡방", lastMessage: "사진을 보냈습니다.", memberCount: "200", time: "오전 1:05", messageCount: "61"), ChattingRoomDataModel(profileImage: UIImage(named: "swiftIcon"), name: "iOS 단톡방", lastMessage: "사진을 보냈습니다.", memberCount: "200", time: "오전 1:05", messageCount: "61"),ChattingRoomDataModel(profileImage: UIImage(named: "swiftIcon"), name: "iOS 단톡방", lastMessage: "사진을 보냈습니다.", memberCount: "200", time: "오전 1:05", messageCount: "61"),ChattingRoomDataModel(profileImage: UIImage(named: "swiftIcon"), name: "iOS 단톡방", lastMessage: "사진을 보냈습니다.", memberCount: "200", time: "오전 1:05", messageCount: "61"), ChattingRoomDataModel(profileImage: UIImage(named: "swiftIcon"), name: "iOS 단톡방", lastMessage: "사진을 보냈습니다.", memberCount: "200", time: "오전 1:05", messageCount: "61"), ChattingRoomDataModel(profileImage: UIImage(named: "swiftIcon"), name: "iOS 단톡방", lastMessage: "사진을 보냈습니다.", memberCount: "200", time: "오전 1:05", messageCount: "61"), ChattingRoomDataModel(profileImage: UIImage(named: "swiftIcon"), name: "iOS 단톡방", lastMessage: "사진을 보냈습니다.", memberCount: "200", time: "오전 1:05", messageCount: "61"), ChattingRoomDataModel(profileImage: UIImage(named: "swiftIcon"), name: "iOS 단톡방", lastMessage: "사진을 보냈습니다.", memberCount: "200", time: "오전 1:05", messageCount: "61"), ChattingRoomDataModel(profileImage: UIImage(named: "swiftIcon"), name: "iOS 단톡방", lastMessage: "사진을 보냈습니다.", memberCount: "200", time: "오전 1:05", messageCount: "61")]
}

// Cell에 들어가는 데이터 모델을 구조체로 정의
struct ChattingRoomDataModel {
    let profileImage: UIImage?
    let name: String
    let lastMessage: String
    let memberCount: String?
    let time: String
    let messageCount: String
}
'iOS > UMC' 카테고리의 다른 글
[iOS] UMC iOS 세미나 6주 차 (0) 2022.10.31 [iOS] 4-5주 차 미션 (0) 2022.10.31 [iOS] UMC iOS 세미나 4주 차 (0) 2022.10.27 [iOS] 3주 차 미션 - 화면 전환을 이용한 미니 계산기 만들기 (0) 2022.10.08 [iOS] UMC iOS 세미나 3주 차 (1) 2022.10.05